- 博客/
kvm部署WindowsServer2019
资料准备#
iso文件下载#
可以通过访问官方页面下载( 链接),但是下载速度比较慢。 我这里选择使用p2p下载工具mldonkey,Centos7系统安装可以参考 Centos7部署mldonkey,iso文件e2dk下载链接可以从 msdn.itellyou.cn网站获取
ed2k://|file|cn_windows_server_2019_updated_march_2019_x64_dvd_c1ffb46c.iso|5347280896|49FCF8C558517608537E0396854560D6|/
virtio驱动程序下载#
kvm安装运行windows server系统需要安装磁盘scsi、网卡驱动
- yum安装
 wget https://fedorapeople.org/groups/virt/virtio-win/virtio-win.repo -O /etc/yum.repos.d/virtio-win.repo
 yum install -y virtio-win
- 手动下载驱动文件 virtio-win-0.1.173_x86.vfd 或者 virtio-win-0.1.173.iso 下载链接
基础镜像制作#
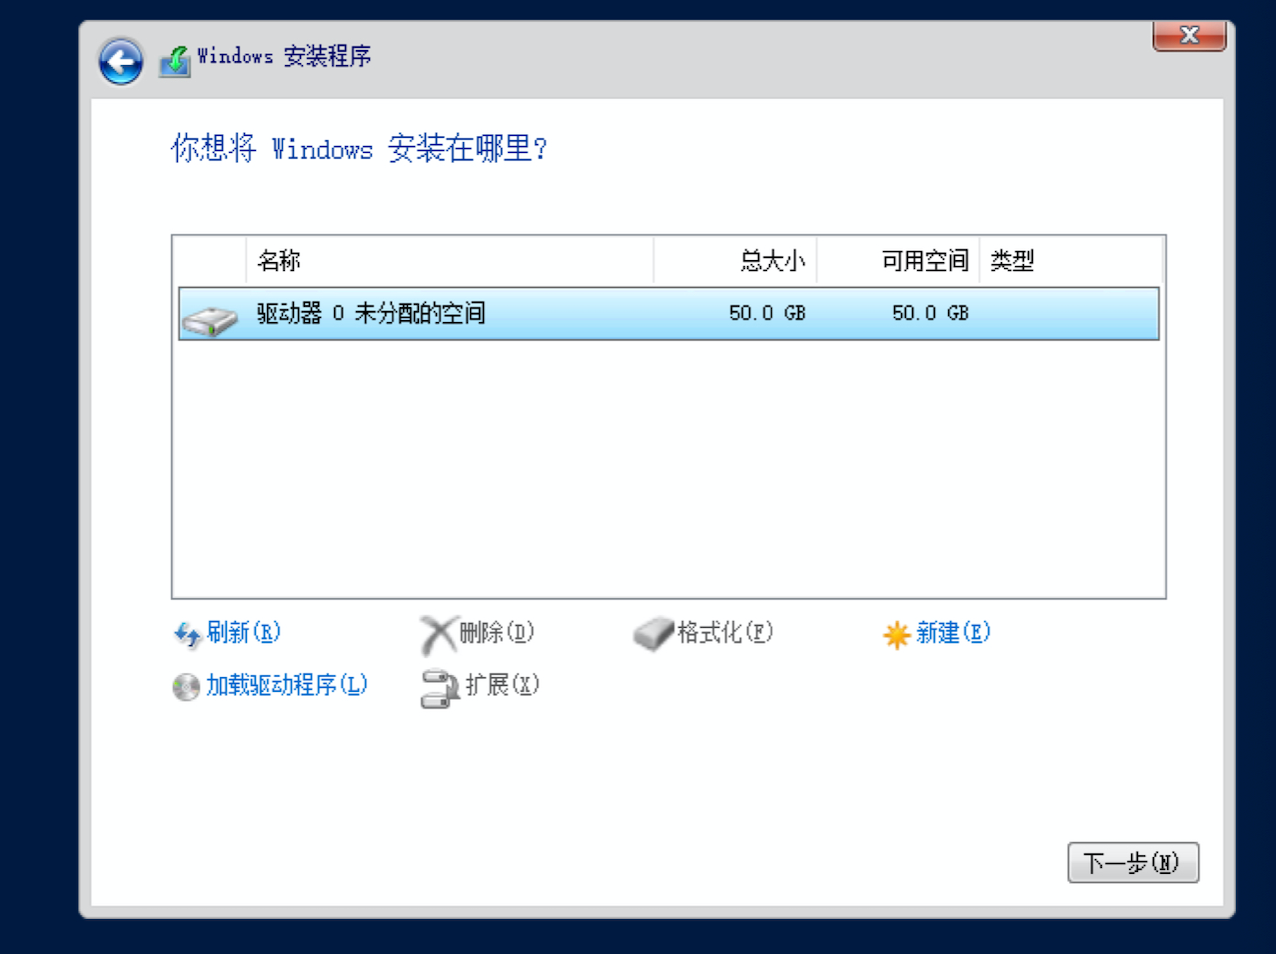
创建kvm镜像文件#
[root@kvm-1 ~]# qemu-img create -f qcow2 win2019-dc.qcow2 50G
Formatting 'win2019-dc.qcow2', fmt=qcow2 size=53687091200 cluster_size=65536 lazy_refcounts=off refcount_bits=16
安装windowsserver#
有两种方式安装虚拟化驱动程序
方法一:使用VFD软盘驱动镜像#
virt-install启动windows server kvm实例,开启vnc远程访问,监听端口5920
[root@kvm-1 windows]virt-install \
--name win2019dc \
--memory 8192 \
--vcpus sockets=1,cores=2,threads=2 \
--os-type=windows \
--os-variant=auto \
--cdrom=/data/windows/cn_windows_server_2019.iso \
--disk /data/windows/win2019-dc.qcow2,bus=virtio,size=50 \
--disk /data/windows/virtio-win-0.1.173_x86.vfd,device=floppy \
--network bridge=bridge0,model=virtio \
--graphics vnc,listen='0.0.0.0',port=5920 \
--hvm \
--virt-type kvm


WARNING  需要图形显示,但未设置 DISPLAY。不能运行 virt-viewer。
WARNING  没有控制台用于启动客户机,默认为 --wait -1

开始安装......
ERROR    unsupported format character '�' (0xffffffe7) at index 47
域安装失败,您可以运行下列命令重启您的域:
'virsh start virsh --connect qemu:///system start win2019dc'
否则请重新开始安装。
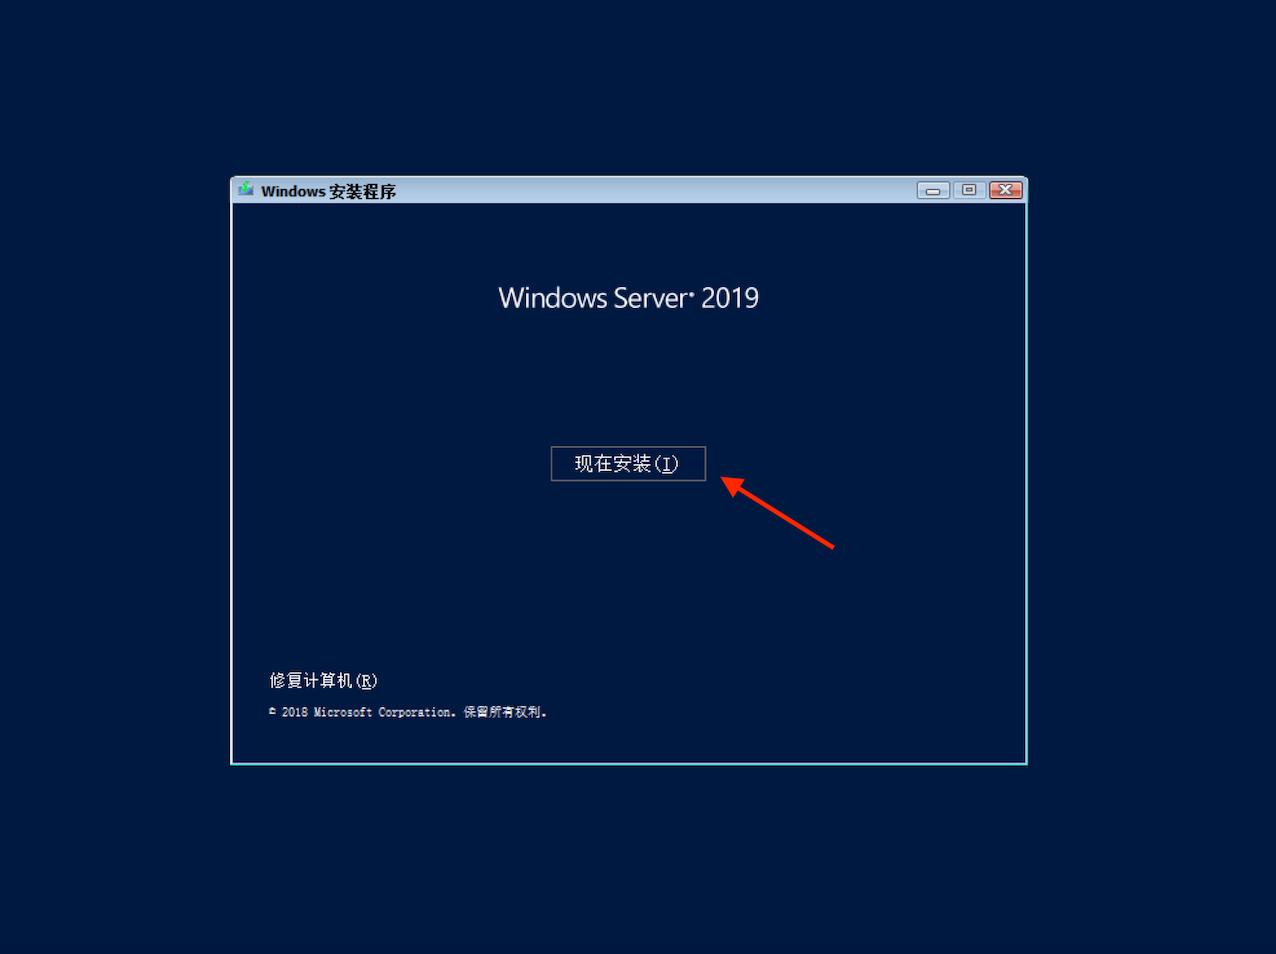
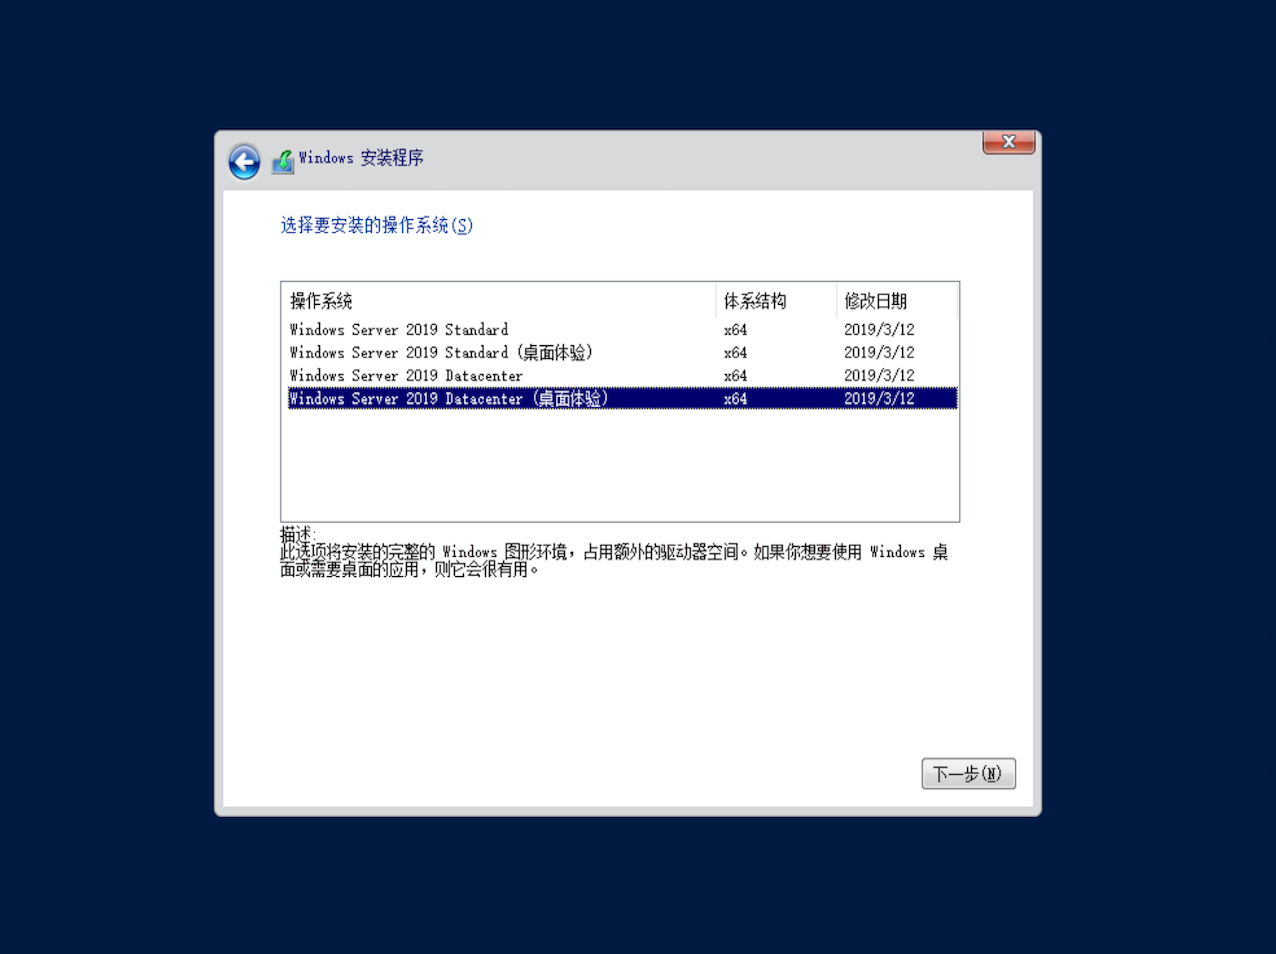
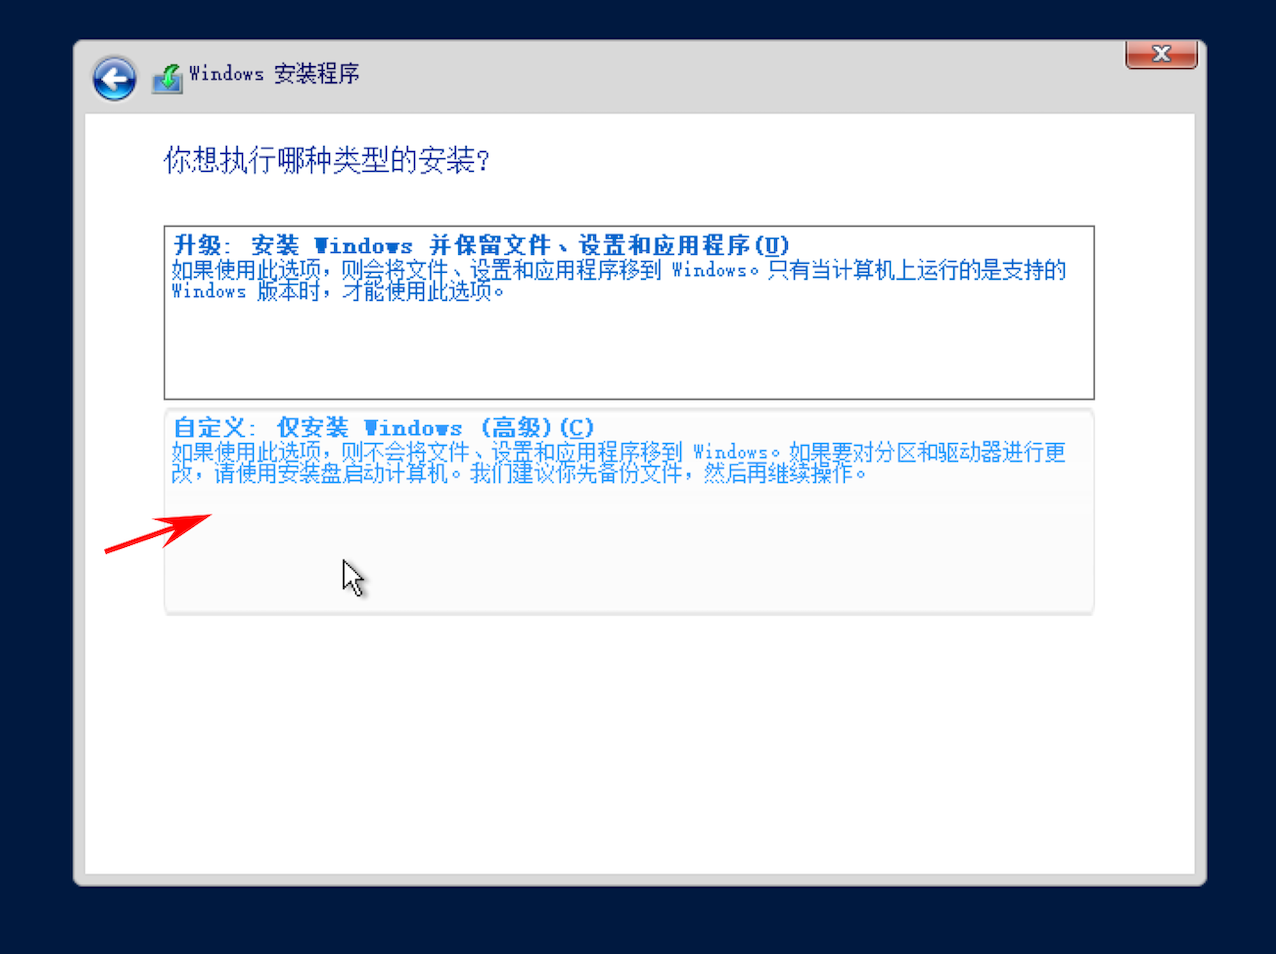
通过VNC Viewer连接访问kvm实例win2019dc,安装windows系统

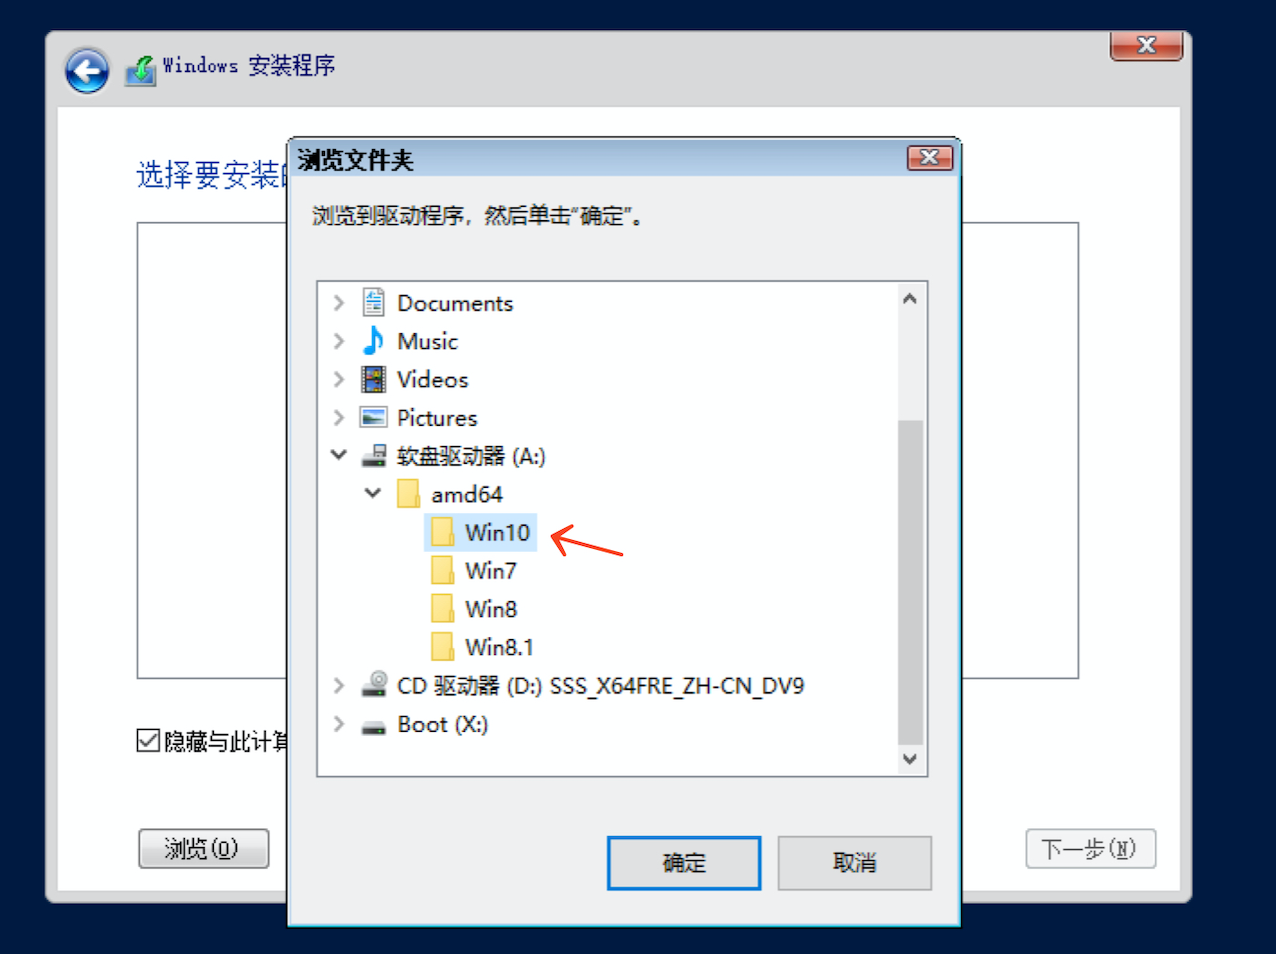
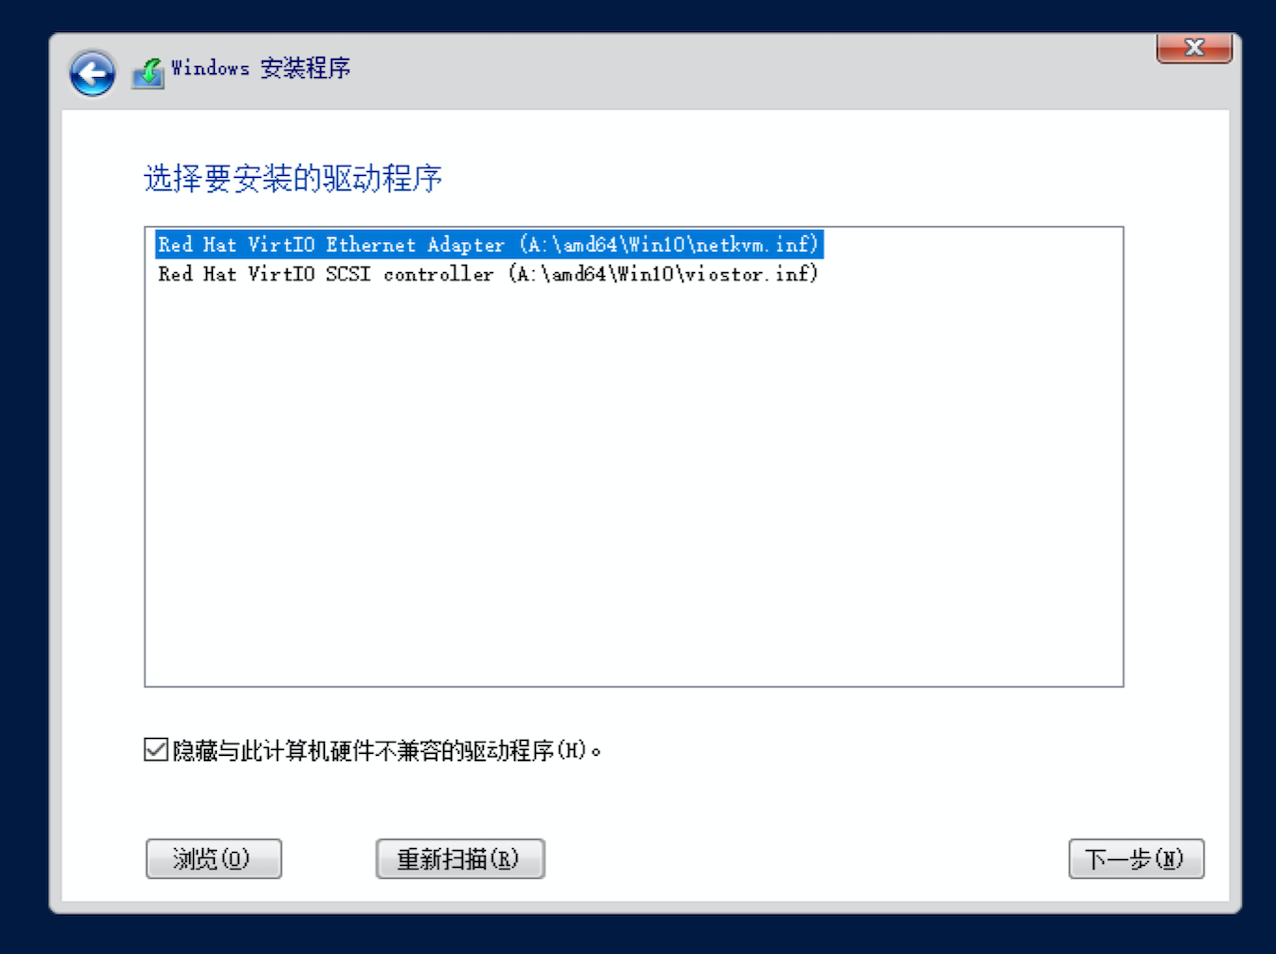
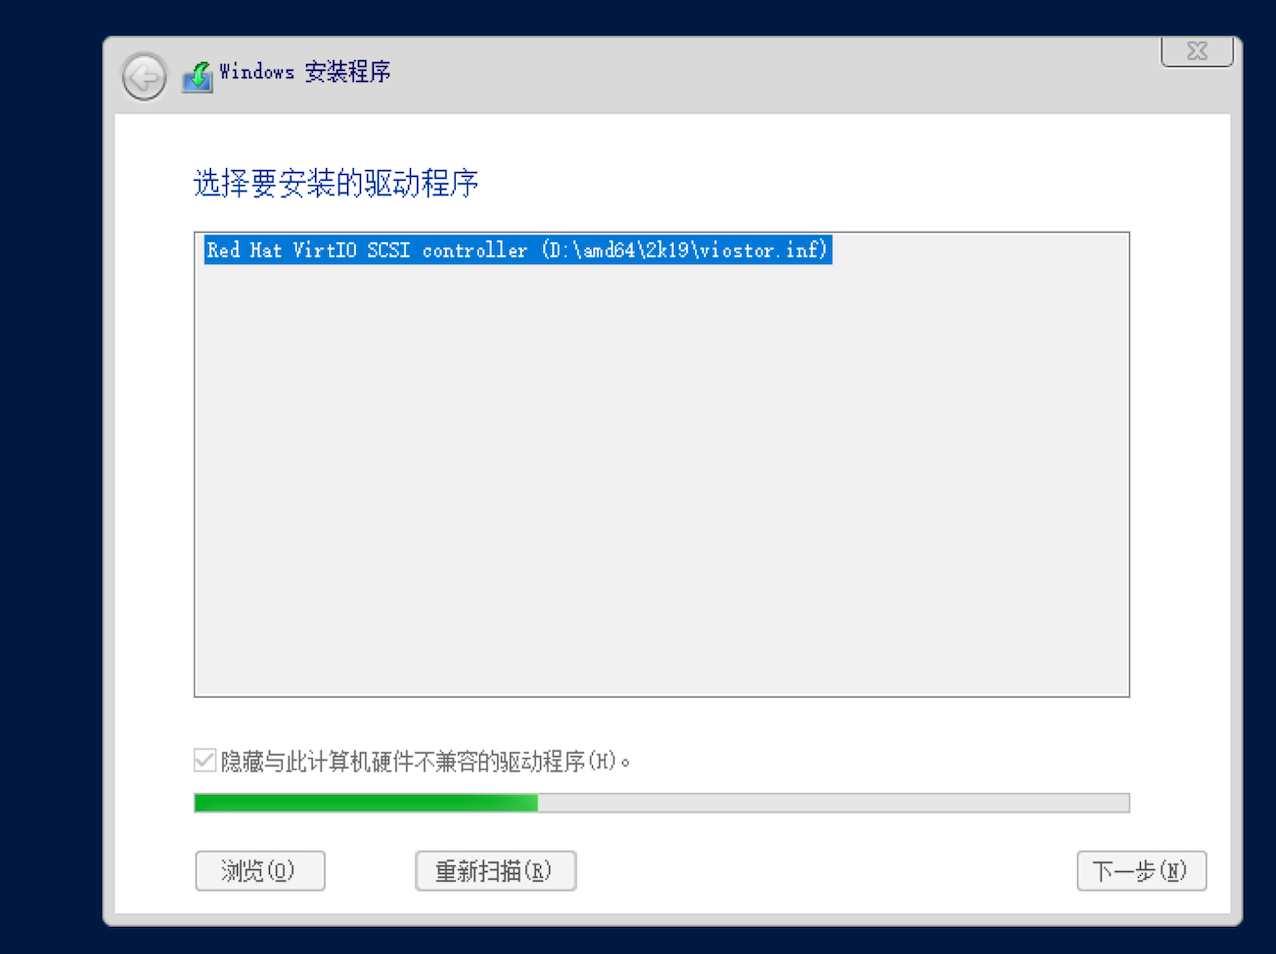
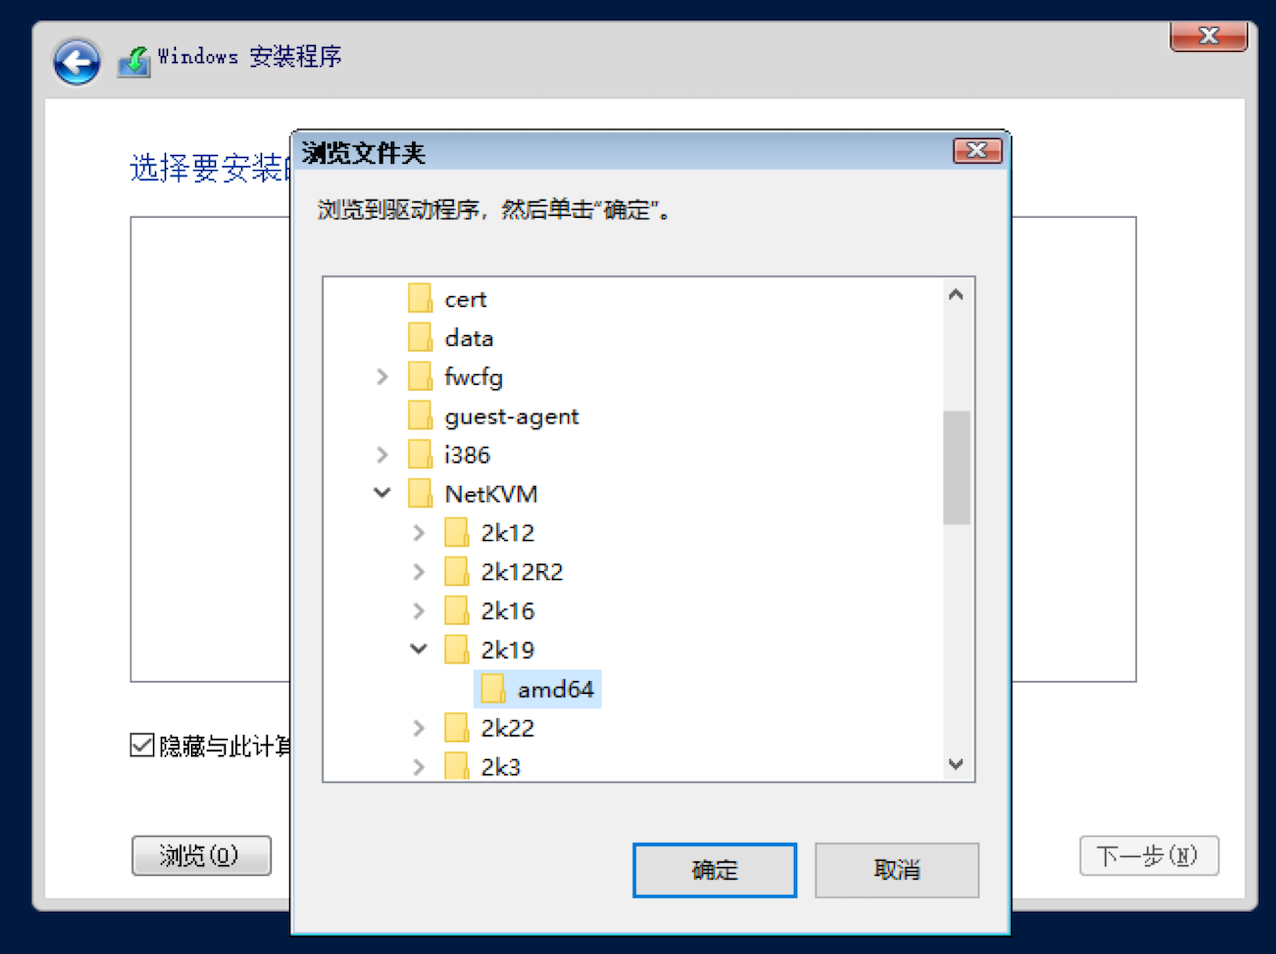
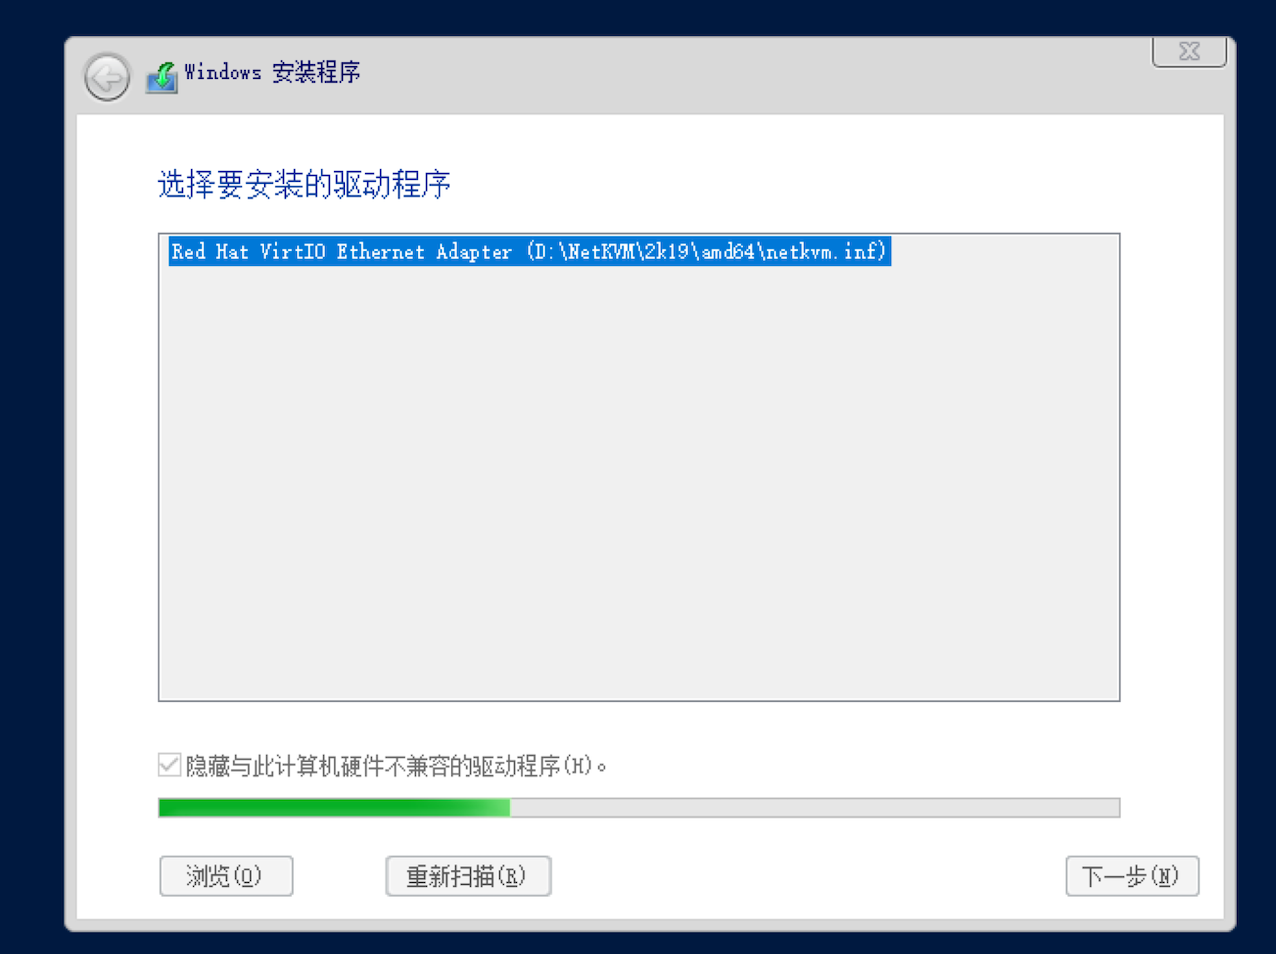
手动安装磁盘SCSI和网卡驱动
继续按提示完成安装

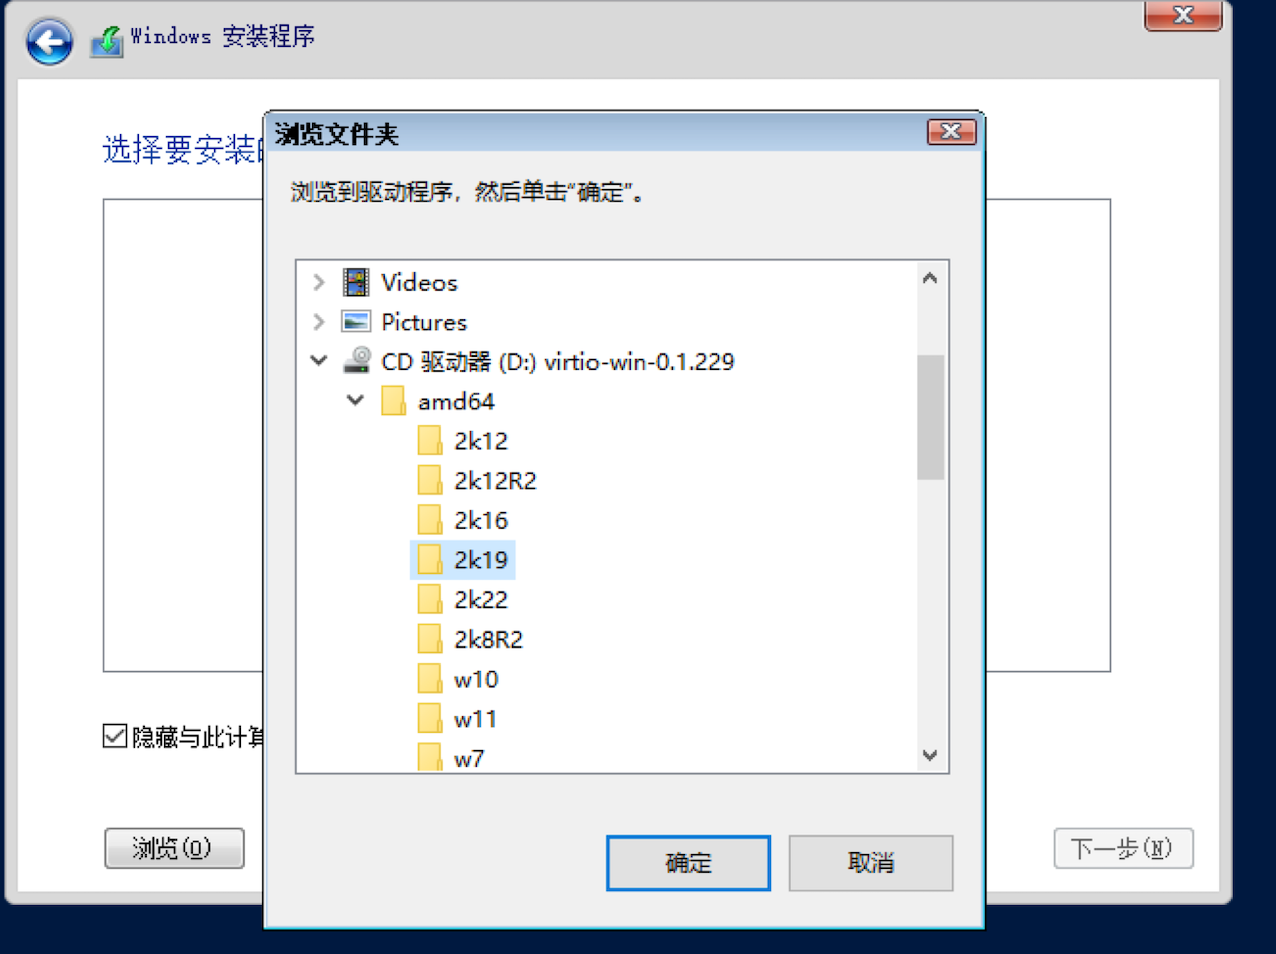
方法二:手动挂载virtio驱动iso镜像#
创建windows虚拟机
virt-install \
--name win2019dc \
--memory 8192 \
--vcpus sockets=1,cores=2,threads=2 \
--os-type=windows \
--os-variant=auto \
--cdrom=/data/windows/cn_windows_server_2019.iso \
--disk /data/windows/win2019-dc.qcow2,bus=virtio,size=50 \
--network bridge=bridge0,model=virtio \
--graphics vnc,listen='0.0.0.0',port=5930 \
--hvm \
--virt-type kvm

WARNING  需要图形显示,但未设置 DISPLAY。不能运行 virt-viewer。
WARNING  没有控制台用于启动客户机,默认为 --wait -1

开始安装......
ERROR    unsupported format character '�' (0xffffffe7) at index 47
域安装失败,您可以运行下列命令重启您的域:
'virsh start virsh --connect qemu:///system start win2019dc'
否则请重新开始安装。
和方法一一样,通过VNC Viewer连接访问kvm实例安装windows系统,加载驱动程序的话需要先手动挂载 virtio-win-0.1.173.iso。
先查看cdrom设备对应虚拟机的dev名称 dev='hda'
[root@kvm-1 windows]# virsh dumpxml win2019dc|grep device.*cdrom -A5|grep ""
    <disk type='file' device='cdrom'>
      <driver name='qemu' type='raw'/>
      <source file='/data/windows/cn_windows_server_2019.iso'/>
      <backingStore/>
      <target dev='hda' bus='ide'/>
      <readonly/>

[root@kvm-1 windows]# virsh change-media win2019dc hda /usr/share/virtio-win/virtio-win.iso
Successfully updated media.
然后手动安装磁盘SCSI和网卡驱动
切换回系统iso镜像,并继续按提示完成安装
[root@kvm-1 windows]# virsh change-media  win2019dc hda /data/windows/cn_windows_server_2019.iso
Successfully updated media.

#卸载iso文件的方法
virsh change-media win2019dc --eject virtio-win.iso
配置管理员密码#

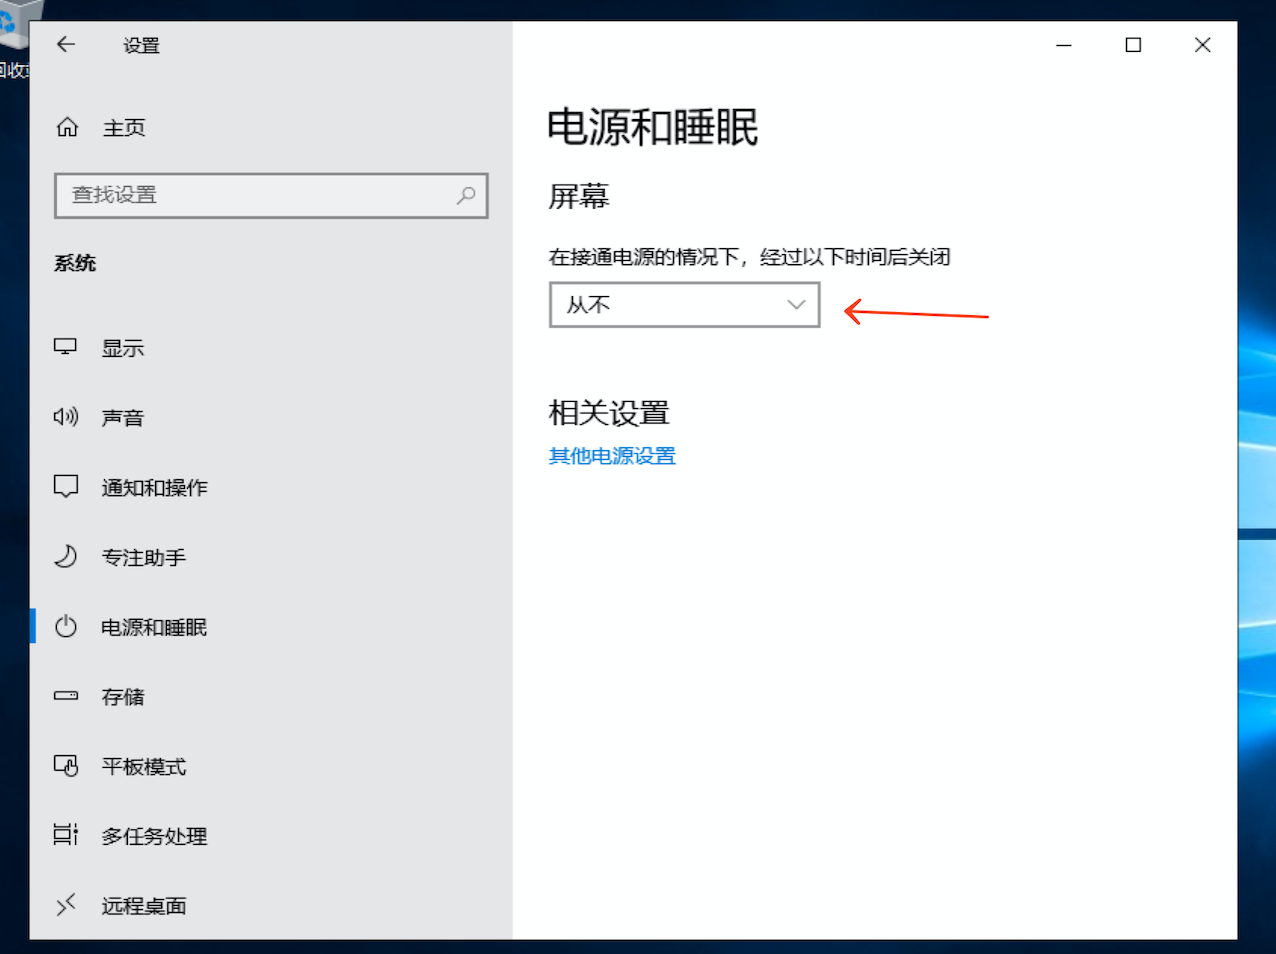
windows配置修改#
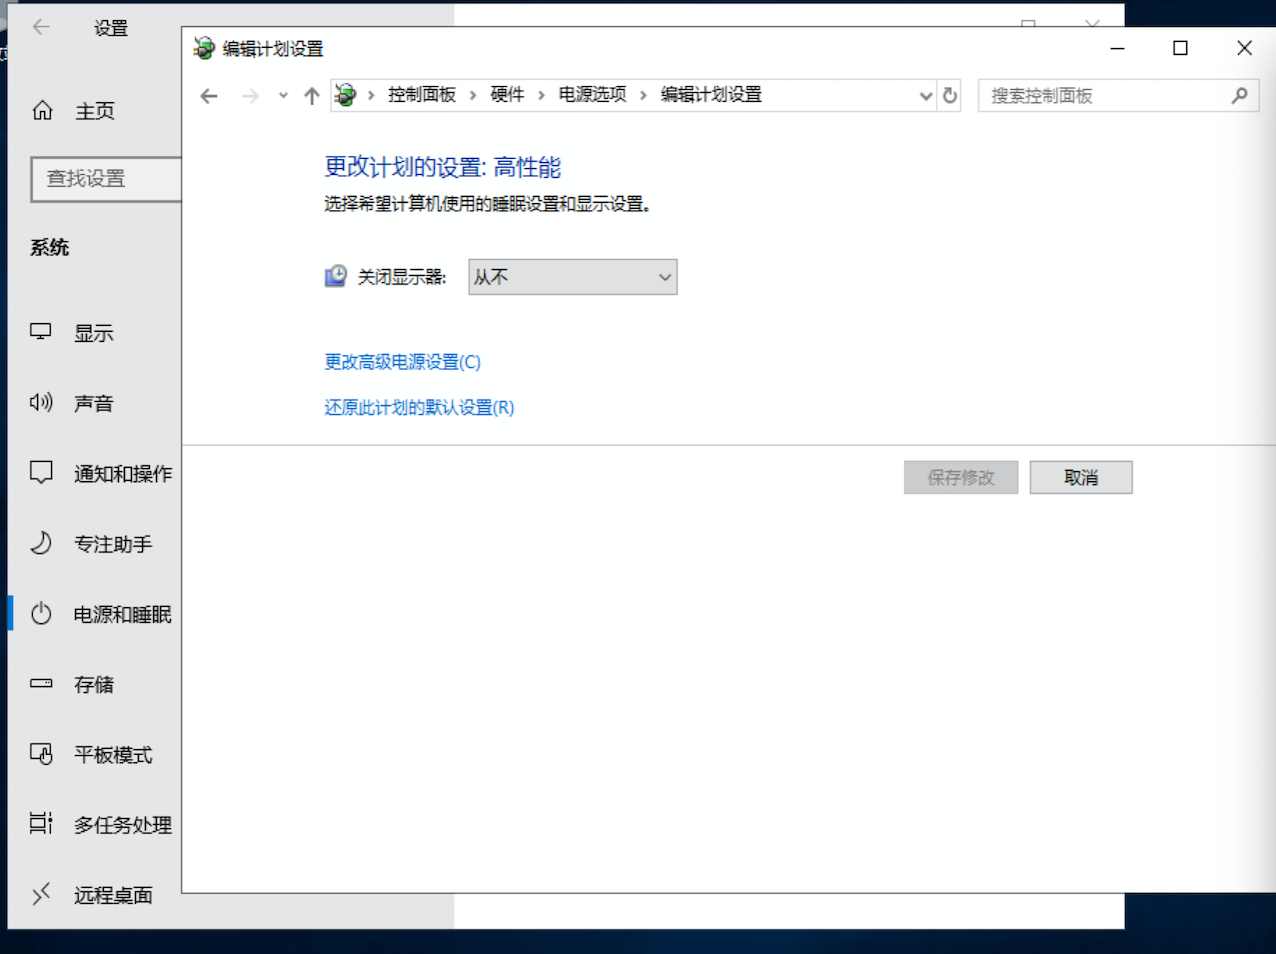
电源和睡眠#
 `
`
 `
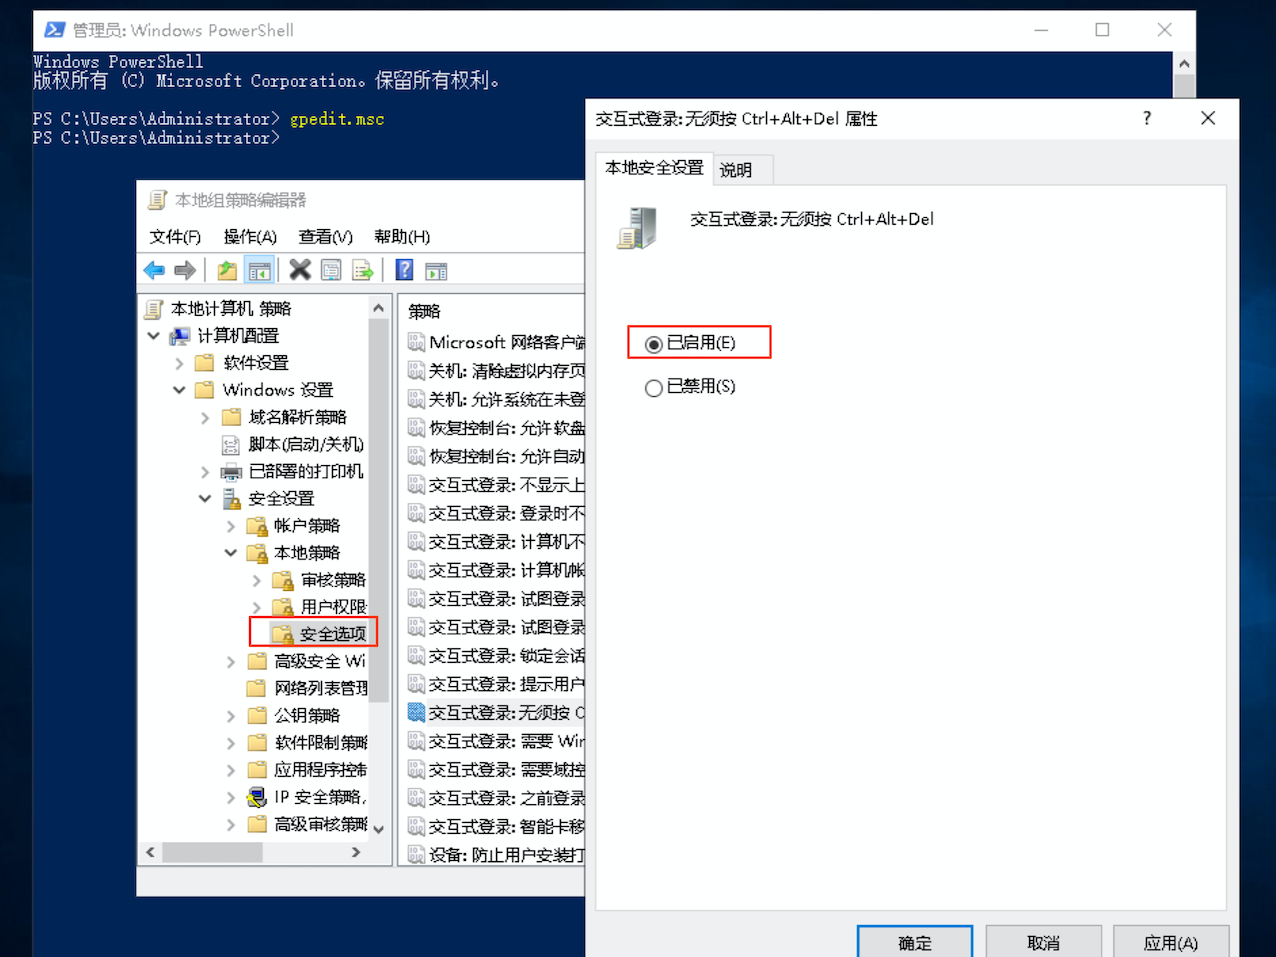
`关闭交互式登录Ctrl+Atl+Del#
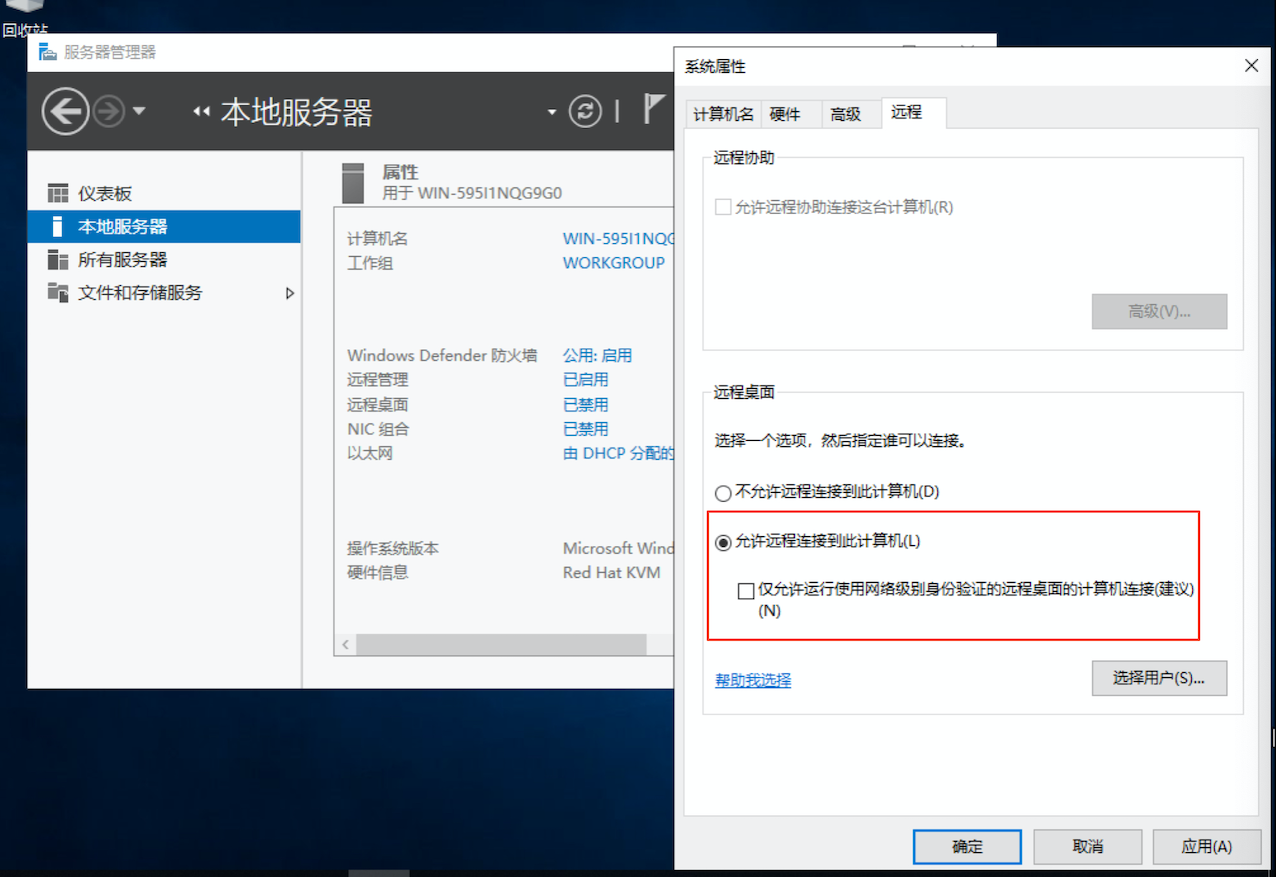
开启远程桌面访问#
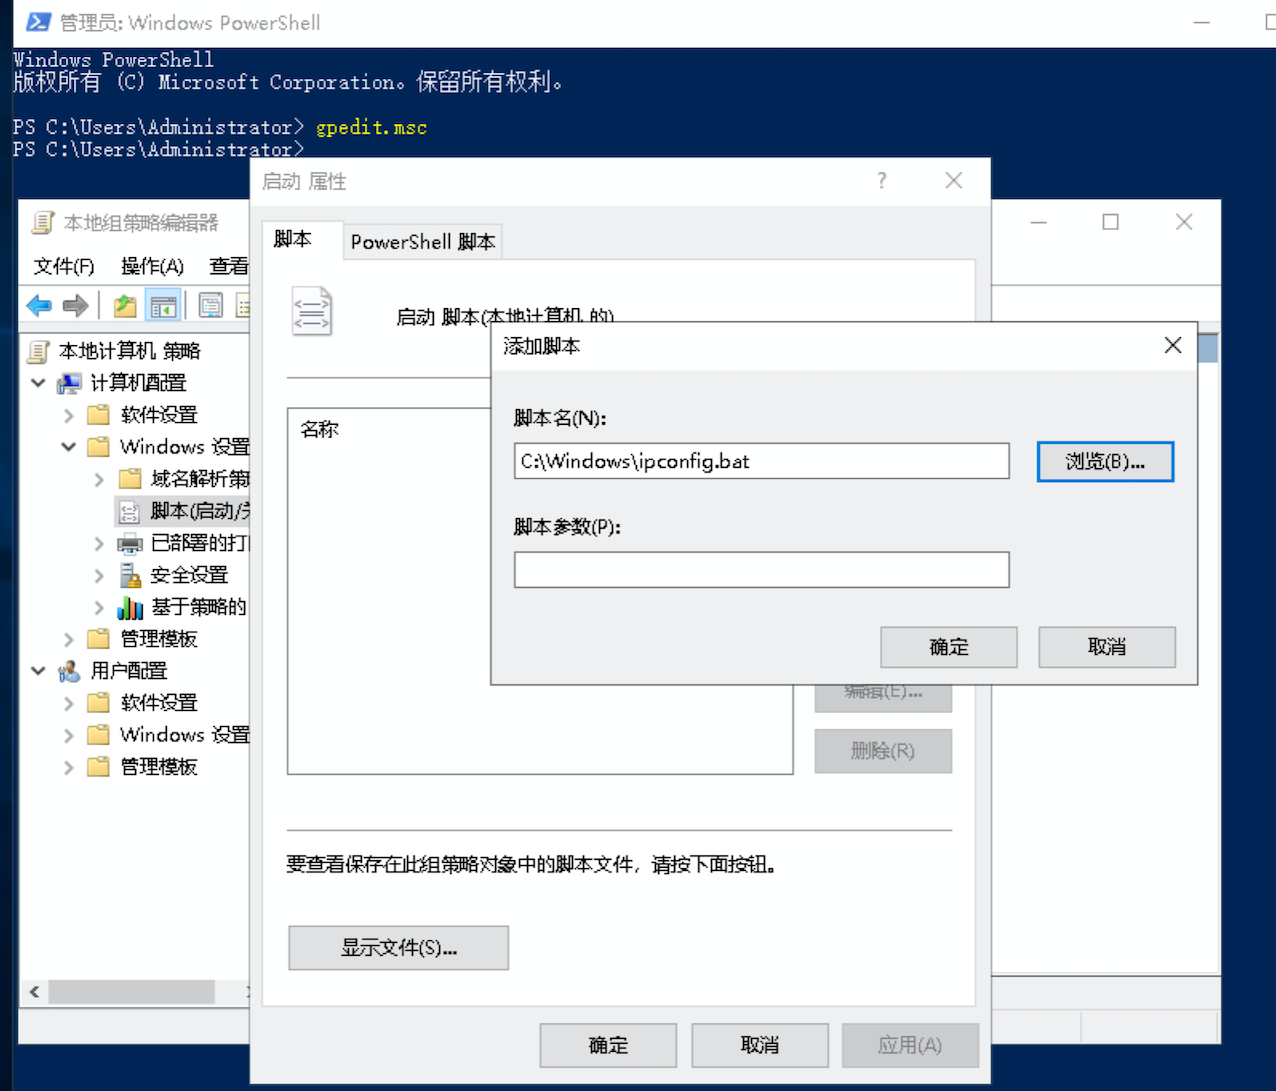
IPv4地址持久化配置#
在 C:\Windows\目录新建脚本ipconfig.bat
@echo off
setlocal enabledelayedexpansion

set /a v=0
set ipaddr=""
set netmask=""
set gateway=""

@for /f "tokens=2 delims==" %%a in (C:\Windows\ip.txt) do (
set /a v+=1
if !v!==1 set ipaddr=%%a
if !v!==2 set netmask=%%a
if !v!==3 set gateway=%%a
)

netsh interface ipv4 add address "以太网" !ipaddr! !netmask! !gateway!
netsh interface ipv4 add dnsservers "以太网" 192.168.9.3 index=2 no

endlocal
把脚本ipconfig.bat配置开机自启动
安装KMS密钥#
本文使用KMS客户端密钥,即 Microsoft 通用批量许可证密钥 (GVLK)。
C:\Users\Administrator> slmgr /upk
C:\Users\Administrator> slmgr /cpky
C:\Users\Administrator> slmgr /ckms
C:\Users\Administrator> slmgr /ipk WMDGN-G9PQG-XVVXX-R3X43-63DFG
C:\Users\Administrator> slmgr /dlv
C:\Users\Administrator> slmgr /skms your.kms.server
C:\Users\Administrator> slmgr /ato
C:\Users\Administrator> slmgr /dlv
微软官网获取通用批量许可证密钥, 密钥管理服务 (KMS) 客户端激活和产品密钥
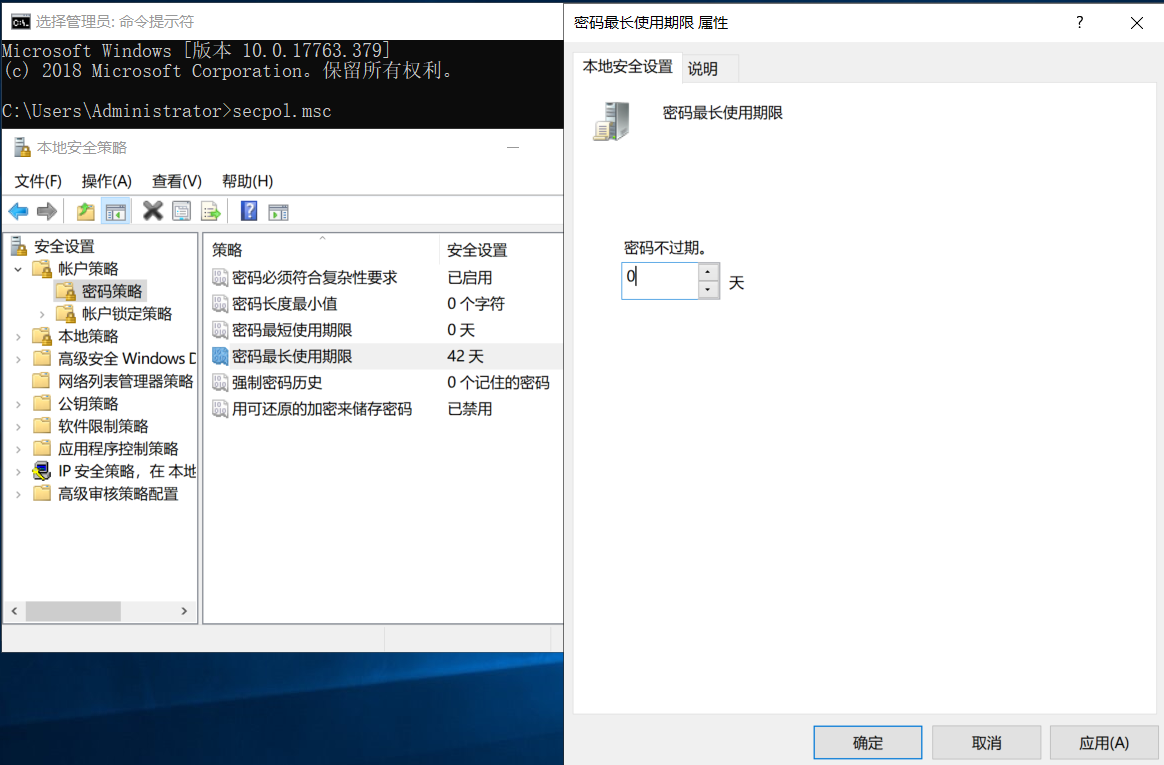
密码过期策略#
压缩镜像#
配置完成之后关机,基础镜像win2019-dc.qcow2就完成了,当前大小9.1G
[root@kvm-1 windows]# qemu-img info win2019-dc.qcow2
image: win2019-dc.qcow2
file format: qcow2
virtual size: 50G (53687091200 bytes)
disk size: 9.1G
cluster_size: 65536
Format specific information:
    compat: 1.1
    lazy refcounts: false
    refcount bits: 16
    corrupt: false
copy模式压缩镜像,压缩之后只有4.9G
#临时copy文件空间为virtual size,需要注意主机磁盘空间,默认为/tmp
#可以通过--tmp /somedir或者环境变量export TMPDIR=/somedir
[root@kvm-1 windows]# virt-sparsify --compress --convert qcow2  win2019-dc.qcow2 win2019-dc-compress.qcow2
[   0.1] Create overlay file in /tmp to protect source disk
[   0.2] Examine source disk
[   1.9] Fill free space in /dev/sda1 with zero
 100% ⟦▒▒▒▒▒▒▒▒▒▒▒▒▒▒▒▒▒▒▒▒▒▒▒▒▒▒▒▒▒▒▒▒▒▒▒▒▒▒▒▒▒▒▒▒▒▒▒▒▒▒▒▒▒▒▒▒▒▒▒▒▒▒▒▒▒▒▒▒▒▒▒▒▒▒▒▒▒▒▒▒▒▒▒▒▒▒▒▒▒▒▒▒▒▒▒▒▒▒▒▒▒⟧ 00:00
[   9.9] Fill free space in /dev/sda2 with zero
 100% ⟦▒▒▒▒▒▒▒▒▒▒▒▒▒▒▒▒▒▒▒▒▒▒▒▒▒▒▒▒▒▒▒▒▒▒▒▒▒▒▒▒▒▒▒▒▒▒▒▒▒▒▒▒▒▒▒▒▒▒▒▒▒▒▒▒▒▒▒▒▒▒▒▒▒▒▒▒▒▒▒▒▒▒▒▒▒▒▒▒▒▒▒▒▒▒▒▒▒▒▒▒▒⟧ 00:00
[ 620.8] Copy to destination and make sparse
[1150.4] Sparsify operation completed with no errors.
virt-sparsify: Before deleting the old disk, carefully check that the
target disk boots and works correctly.

[root@kvm-1 windows]# qemu-img info win2019-dc-compress.qcow2
image: win2019-dc-compress.qcow2
file format: qcow2
virtual size: 50G (53687091200 bytes)
disk size: 4.9G
cluster_size: 65536
Format specific information:
    compat: 1.1
    lazy refcounts: false
    refcount bits: 16
    corrupt: false
使用基础镜像启动windows server#
定义一个虚拟机
[root@kvm-1 ~]# qemu-img create -f qcow2 win2019dc-1.qcow2 50G
Formatting 'win2019dc-1.qcow2', fmt=qcow2 size=53687091200 cluster_size=65536 lazy_refcounts=off refcount_bits=16

[root@kvm-1 win2019]# virt-install \
--name win2019dc-1 \
--memory 8192 \
--vcpus sockets=1,cores=2,threads=2 \
--os-type=windows \
--os-variant=win10 \
--disk /data/windows/win2019/win2019dc-1.qcow2,bus=virtio,size=50 \
--network bridge=bridge0,model=virtio \
--hvm \
--virt-type kvm \
--print-xml > win2019dc-1.xml
创建IP配置文件ip.txt,文件名与基础镜像中ipconfig.bat指定的一致
[root@kvm-1 win2019]# cat ip.txt
IPADDR=192.168.9.12
NETMASK=255.255.255.0
GATEWAY=192.168.9.1
拷贝ip.txt文件到镜像,位置与基础镜像中ipconfig.bat指定的一致
[root@kvm-1 win2019]# yum install libguestfs-winsupport -y -q
[root@kvm-1 win2019]# unix2dos ip.txt
[root@kvm-1 win2019]# virt-copy-in -a ./win2019dc-1.qcow2 ip.txt /"Windows"/
启动虚拟机
[root@kvm-1 win2019]# virsh define win2019dc-1.xml
[root@kvm-1 win2019]# virsh start win2019dc-1
通过windows远程桌面访问192.168.9.12,administrator密码是
步骤2.2.3中配置的密码
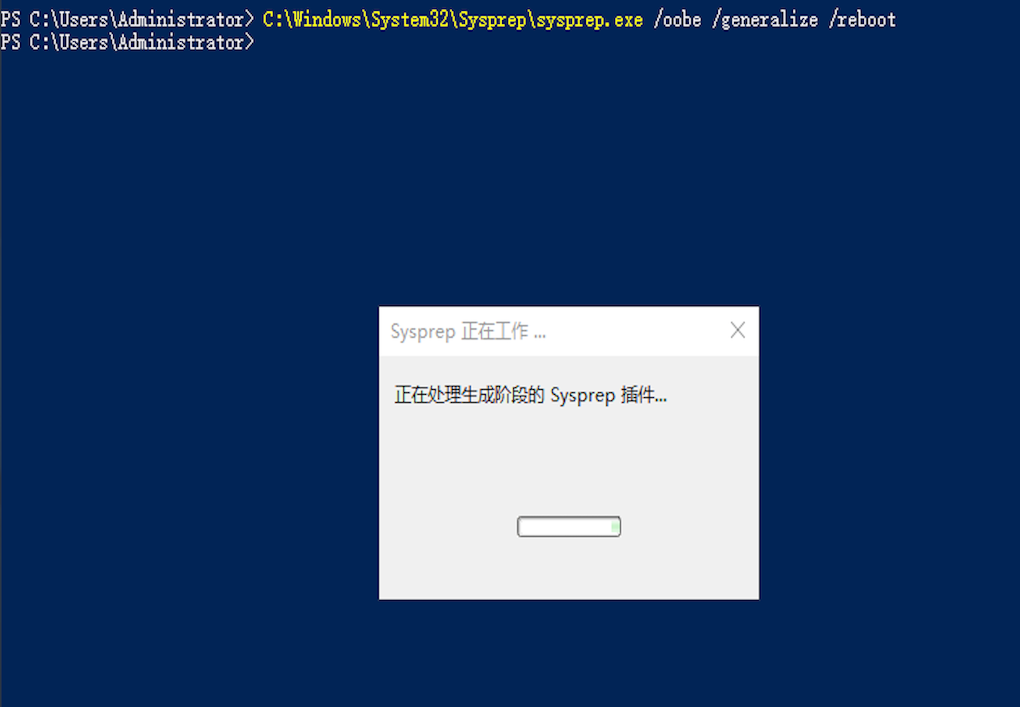
如果需要SID唯一,定义虚拟机时要开启vnc,虚拟机启动后使用Sysprep(系统准备工具)生成新的SID,重启后,vnc连接虚拟机并进入OOBE界面进行配置