- 博客/
WindowsServer2019应答文件制作
前言#
kvm部署WindowsServer2019这篇文章描述了如何制作windows server 2019基础镜像,但是有一个问题是使用基础镜像启动的kvm实例SID相同,如果有需求修改SID,需要开启VNC访问并使用Sysprep工具重置,系统重启后要在web界面手动配置。
本文简单介绍下如果制作OOBE应答文件unattend.xml实现自动化配置,跳过区域和键盘选择以及用户帐户创建
1. SIM安装#
制作应答文件的工具是windows系统映像管理器,需要通过ADK安装。windows server 不能访问互联网的,使用 脱机安装 Windows ADK方式
Windows ADK(Windows Assessment and Deployment Kit)包含用于 Windows 部署和评估的各种工具和组件,如 Windows 部署工具、性能工具、兼容性工具等
1.1 ADK 下载#
查看windows server版本号
PS C:\Users\Administrator> Get-ComputerInfo | fl WindowsProductName,WindowsVersion,OsVersion

WindowsProductName : Windows Server 2019 Datacenter
WindowsVersion     : 1809
OsVersion          : 10.0.1776
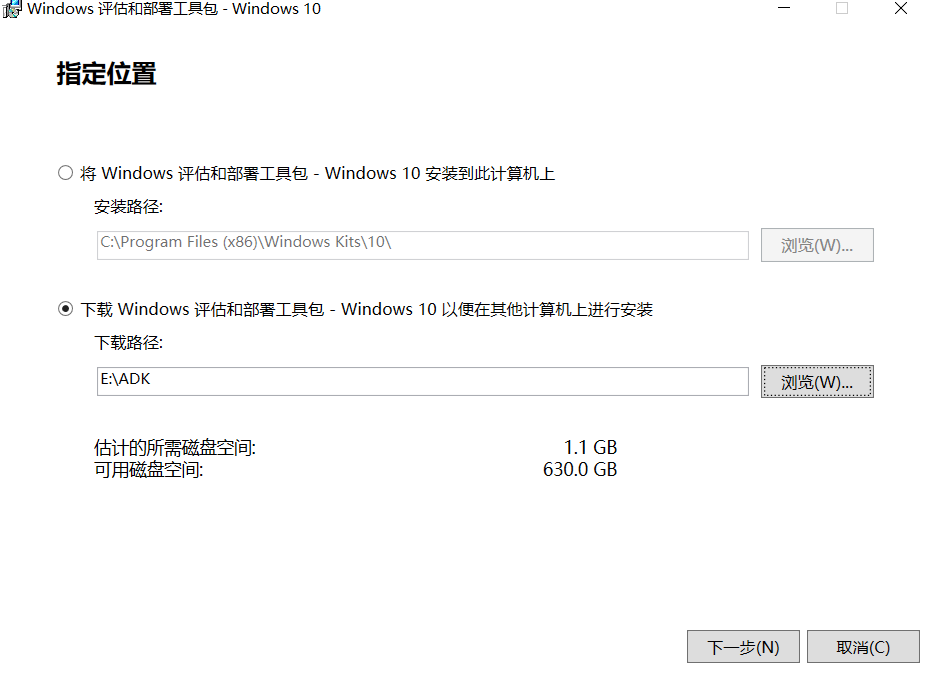
使用可以访问互联网的电脑 下载并安装适用于 Windows 10 版本 1809 的 ADK,运行adksetup.exe,下载安装包至E:\ADK
1.2 安装#
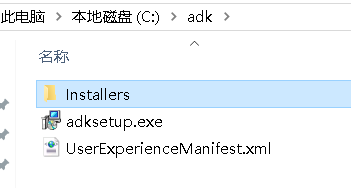
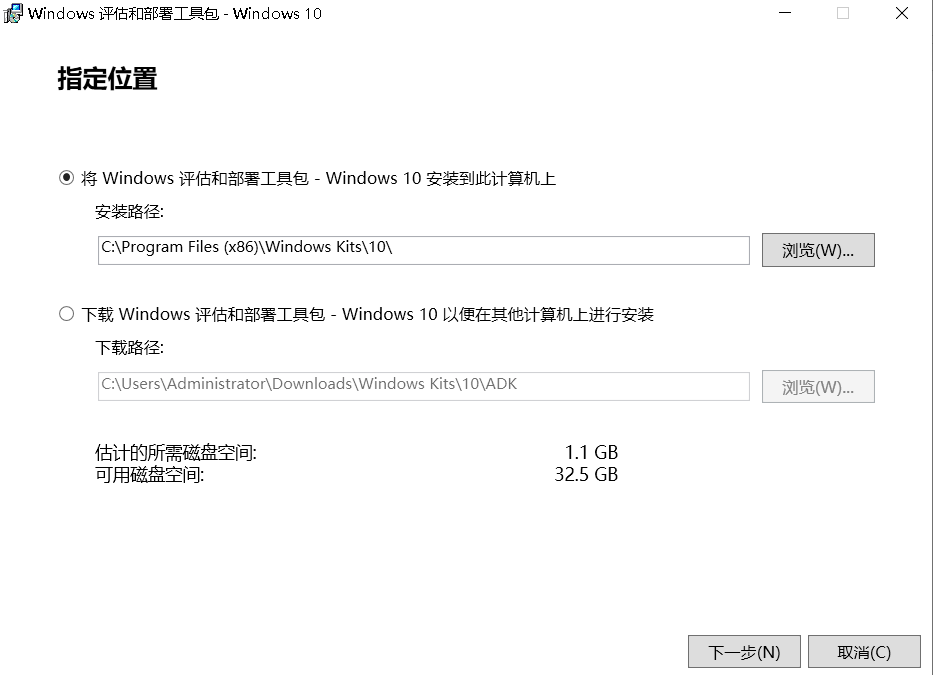
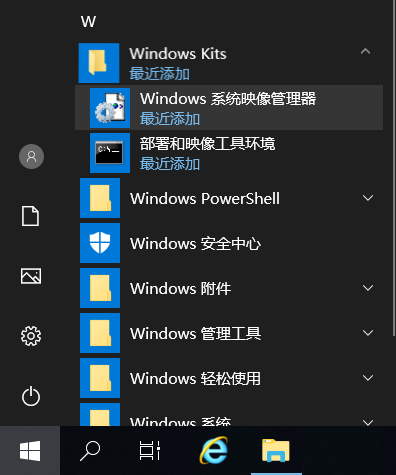
下载完成后,将目录文件拷贝到windows server 2019的C:\adk,运行adksetup.exe,安装完成后在可在菜单栏启动
2. unattend.xml制作#
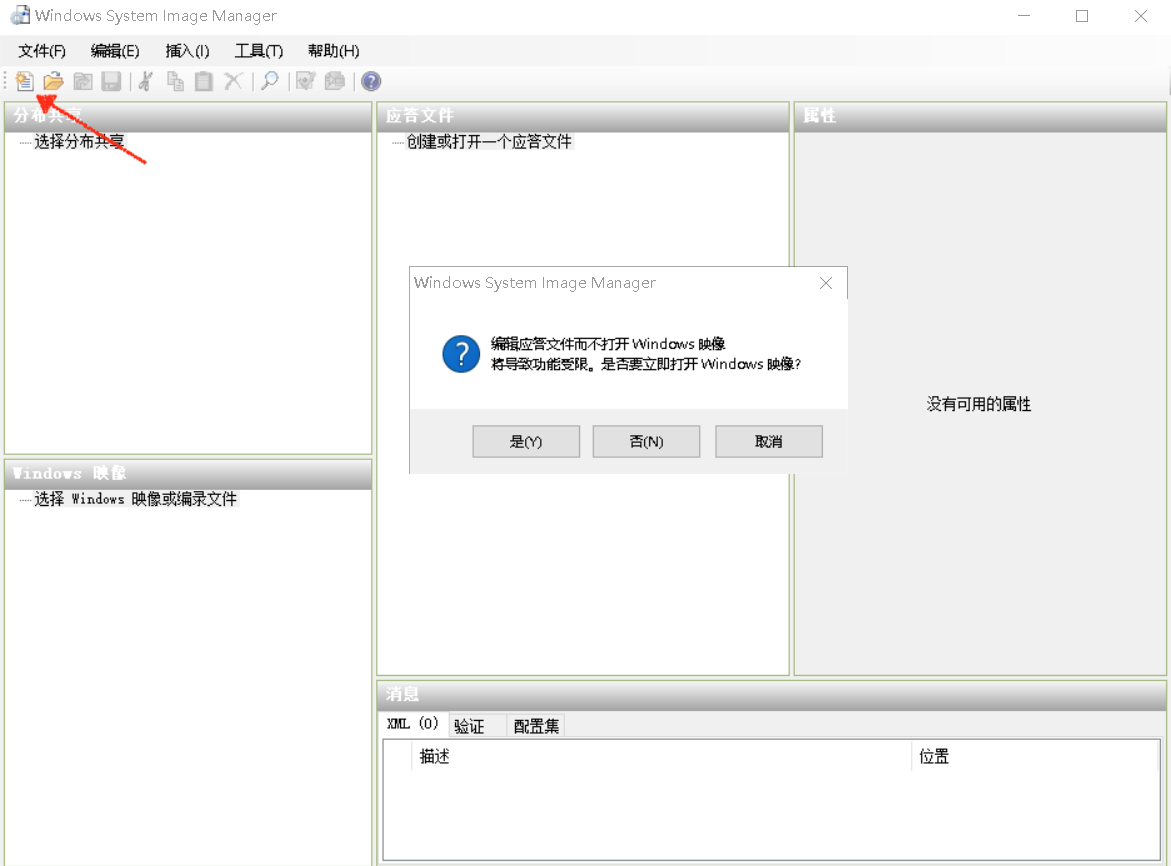
windows server 上新建目录C:\iso_files,并拷贝挂载iso文件的内容到iso_files目录下。打开windows系统映像管理器,并新建一个应答文件
2.1 新建应答文件#
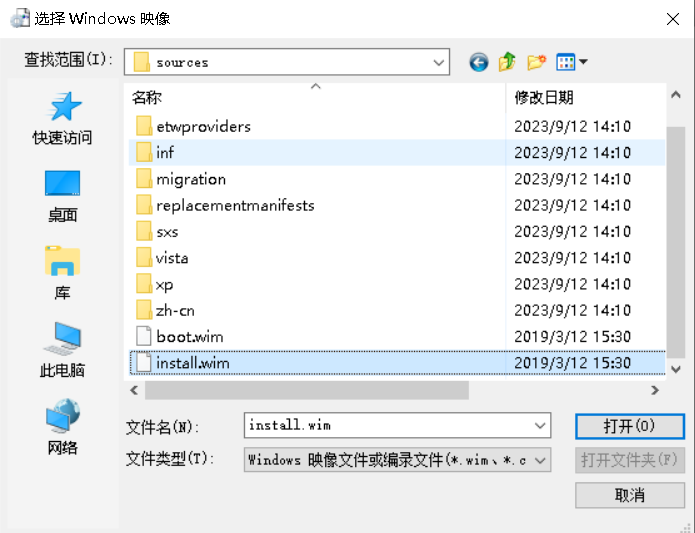
2.2 创建编录文件#
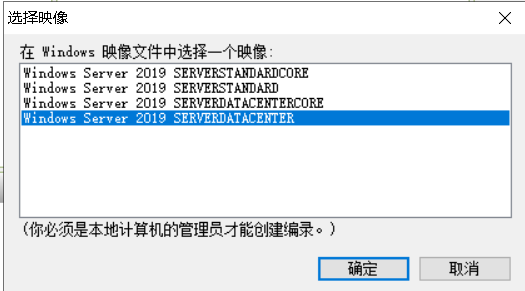
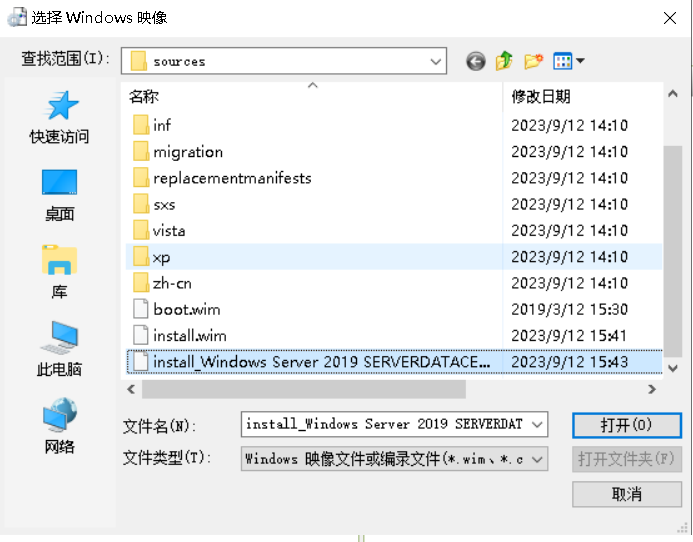
打开Windows映像,选择C:\iso_files\Sources目录下的install.wim,并选择要安装的映像
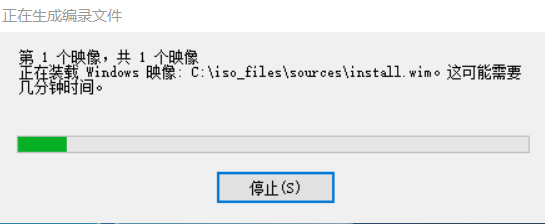
因为是第一次创建,会提示找不到对应版本映像的编录文件,点击按钮是生成编录文件install_Windows Server 2019 SERVERDATACENTER.clg,默认路径就是install.wim同级目录
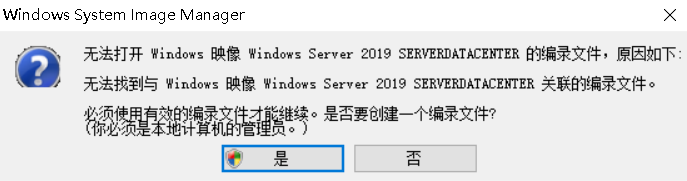
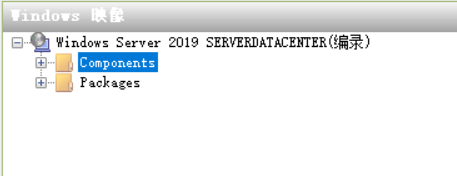
编录文件生成之后,以后新建或编辑应答文件打开windows映像时可以直接打开编录文件,不需要再次创建,如下图
2.3 组件配置项#
答案文件是通过将组件添加到各种配置阶段来创建的,每个组件都包含各阶段的设置
Windows 映像窗口查看组件列表
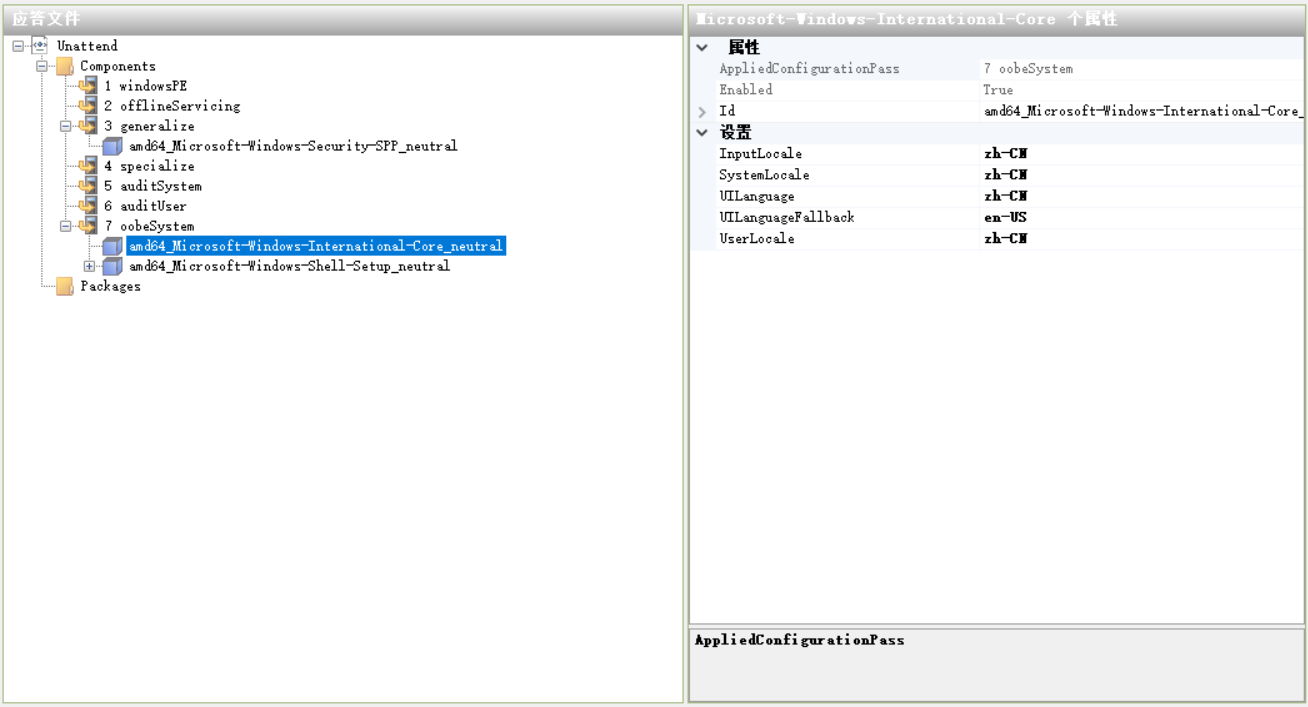
时区语言设置#
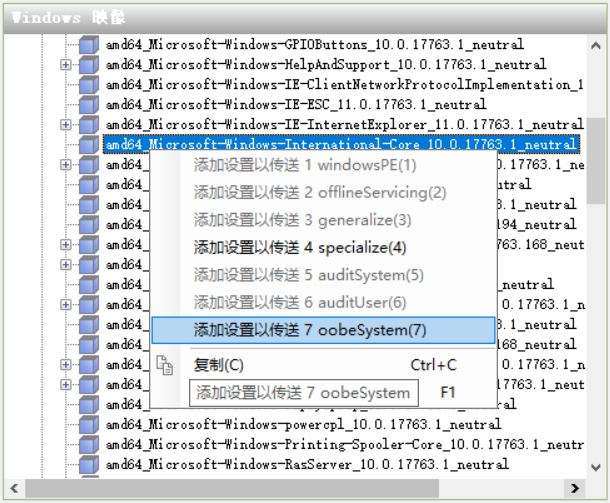
选择amd64_Microsoft-Windows-International-Core_10.0.17763.1_neutral组件,右键并点击添加设置以传送7 oobeSystem
在应答文件窗口点击配置项,并设置value。简体中文为zh-CN,英文为en-US
InputLocale -> 输入语言 SystemLocale -> 运行非Unicode程序时系统的默认语言 UILanguage -> 用户界面的语言 UILanguageFallback -> 程序不支持UILanguage时的兜底语言 UserLocale -> 时区
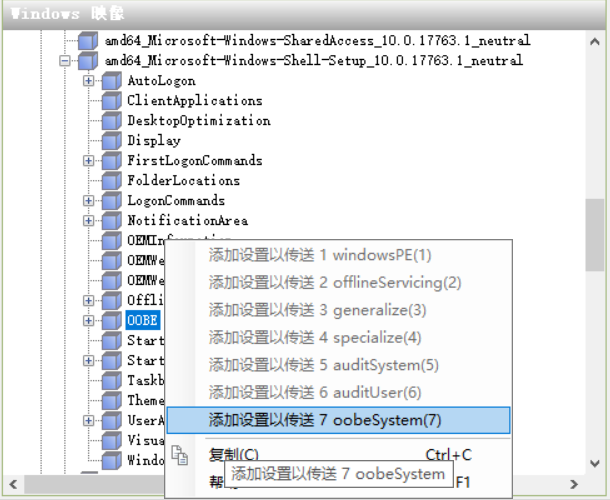
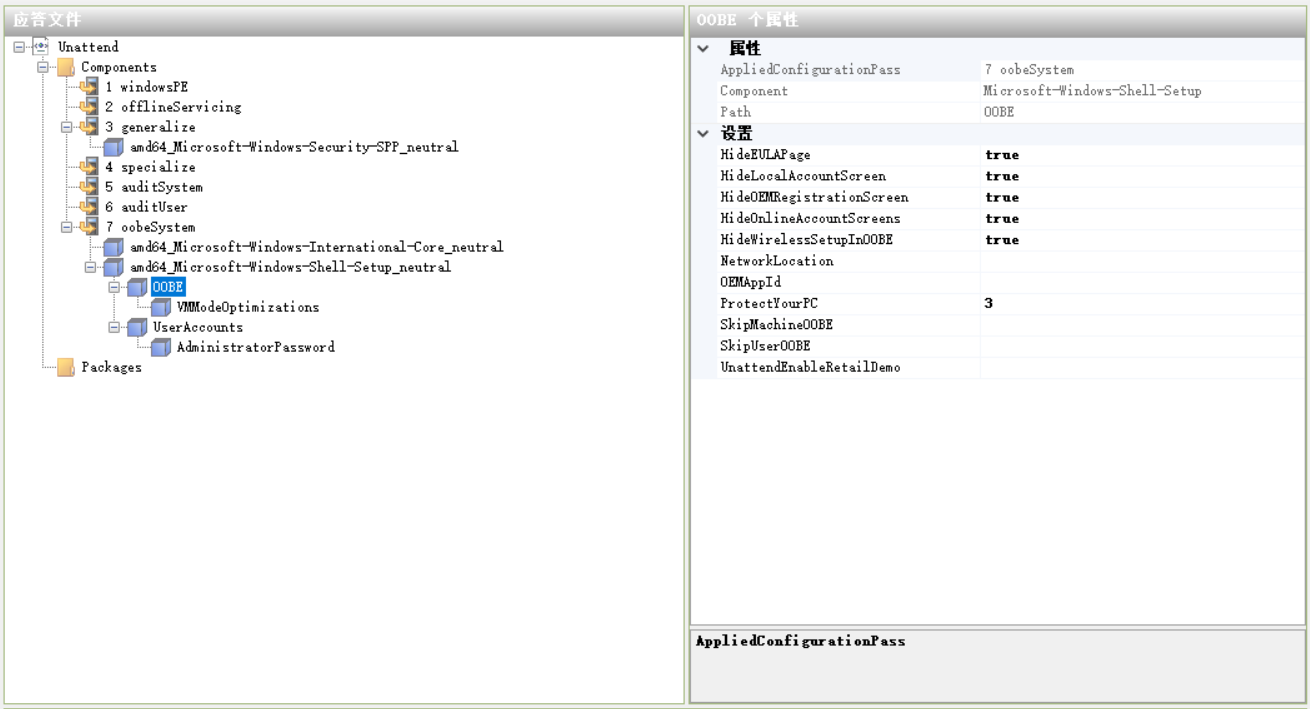
oobe配置#
选择amd64_Microsoft-Windows-Shell-Setup_10.0.17763.1_neutral -> OOBE组件,右键并点击添加设置以传送7 oobeSystem
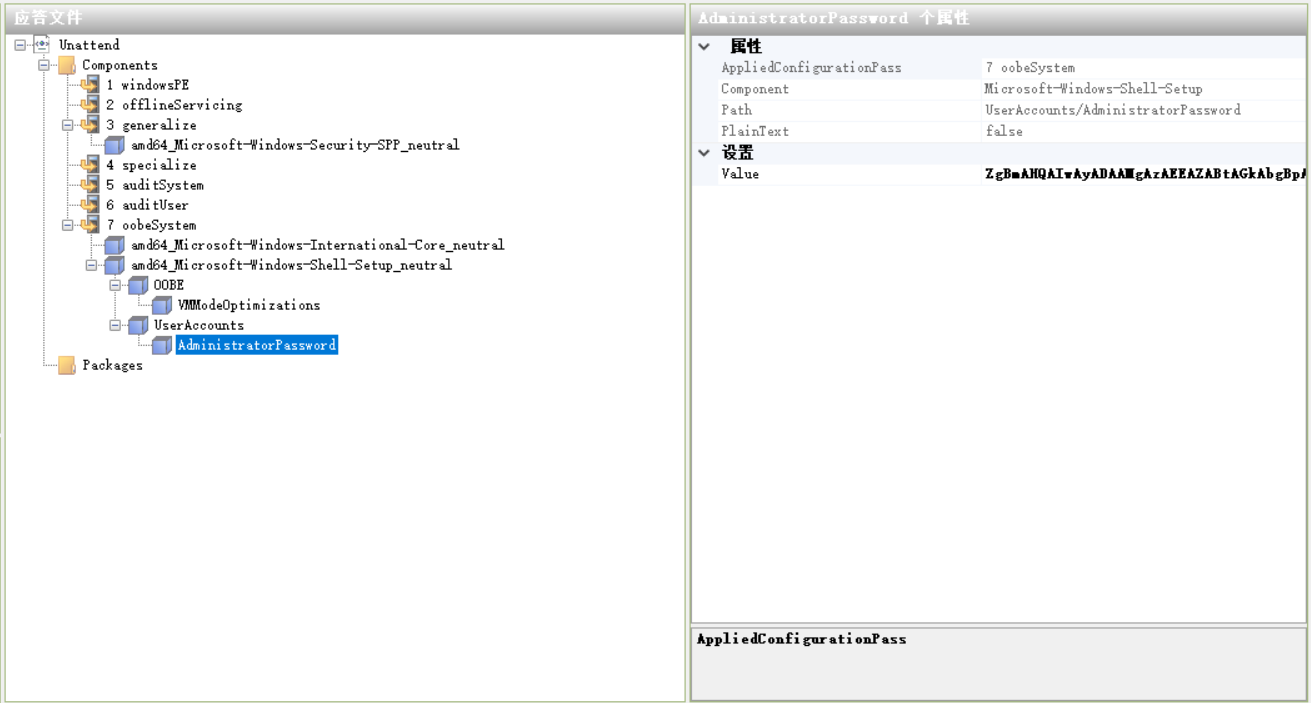
设置管理员密码#
选择amd64_Microsoft-Windows-Shell-Setup_10.0.17763.1_neutral -> UserAccounts -> AdministratorPassword组件,右键并点击添加设置以传送7 oobeSystem

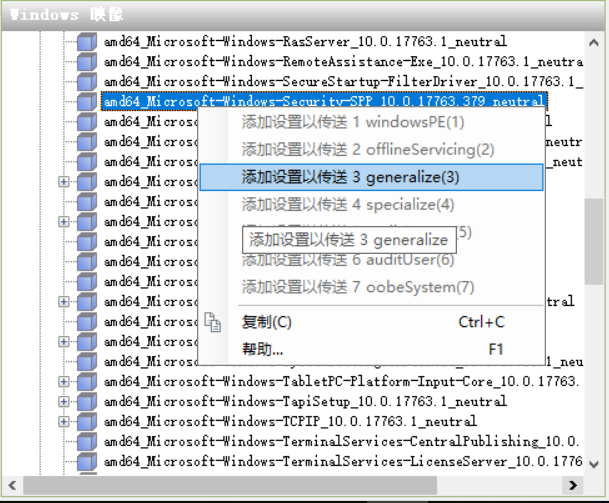
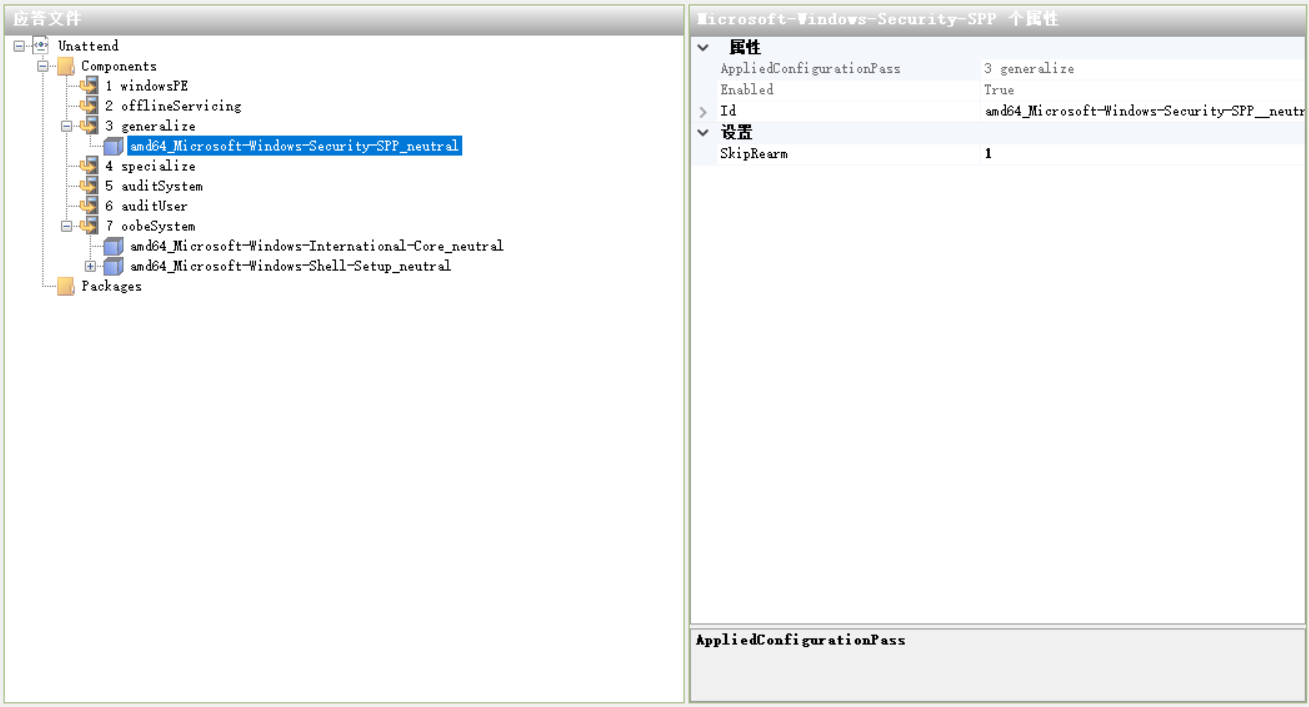
跳过重置激活期限(可选)#
选择amd64_Microsoft-Windows-Security-SPP_10.0.17763.1_neutral组件,右键并点击添加设置以传送3 generalize
保存C:\adk\unattend.xml,查看
<?xml version="1.0" encoding="utf-8"?>
<unattend xmlns="urn:schemas-microsoft-com:unattend">
<settings pass="oobeSystem">
<component name="Microsoft-Windows-International-Core" processorArchitecture="amd64" publicKeyToken="31bf3856ad364e35" language="neutral" versionScope="nonSxS" xmlns:wcm="http://schemas.microsoft.com/WMIConfig/2002/State" xmlns:xsi="http://www.w3.org/2001/XMLSchema-instance">
<InputLocale>zh-CN</InputLocale>
<SystemLocale>zh-CN</SystemLocale>
<UILanguage>zh-CN</UILanguage>
<UILanguageFallback>en-US</UILanguageFallback>
<UserLocale>zh-CN</UserLocale>
</component>
<component name="Microsoft-Windows-Shell-Setup" processorArchitecture="amd64" publicKeyToken="31bf3856ad364e35" language="neutral" versionScope="nonSxS" xmlns:wcm="http://schemas.microsoft.com/WMIConfig/2002/State" xmlns:xsi="http://www.w3.org/2001/XMLSchema-instance">
<OOBE>
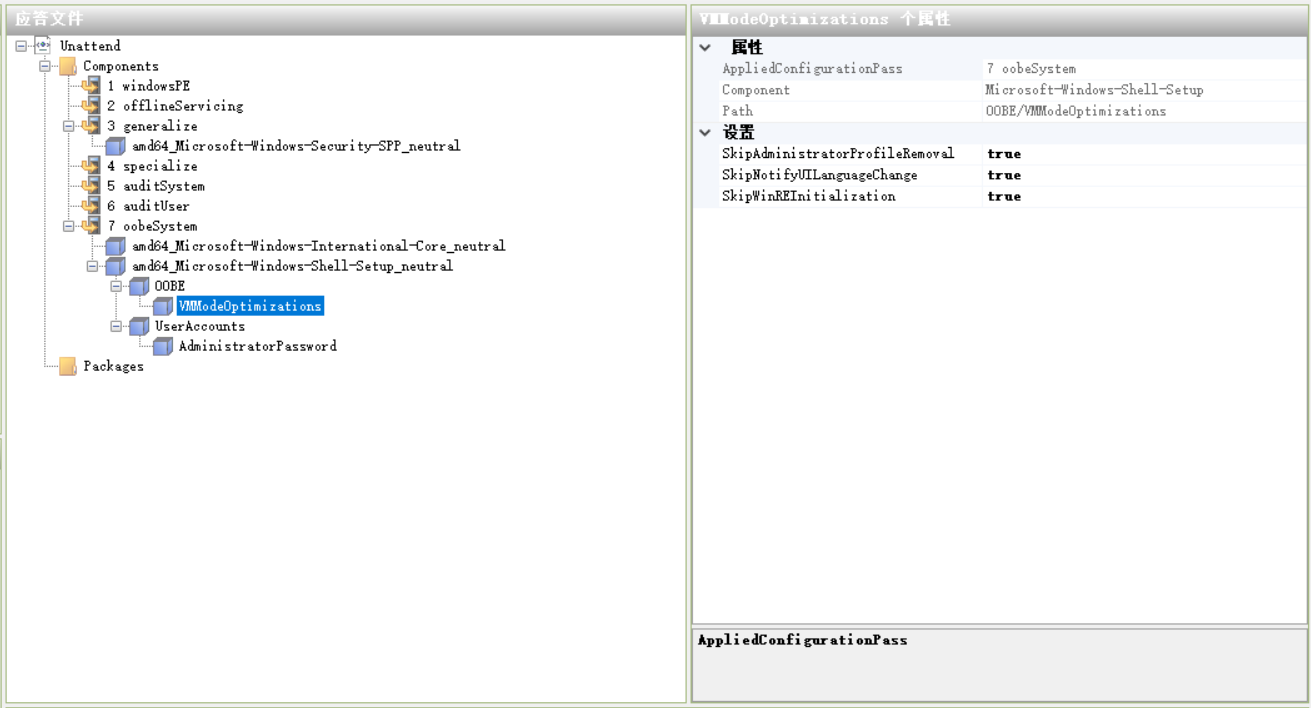
<VMModeOptimizations>
<SkipAdministratorProfileRemoval>true</SkipAdministratorProfileRemoval>
<SkipNotifyUILanguageChange>true</SkipNotifyUILanguageChange>
<SkipWinREInitialization>true</SkipWinREInitialization>
</VMModeOptimizations>
<HideEULAPage>true</HideEULAPage>
<HideLocalAccountScreen>true</HideLocalAccountScreen>
<HideOEMRegistrationScreen>true</HideOEMRegistrationScreen>
<HideOnlineAccountScreens>true</HideOnlineAccountScreens>
<HideWirelessSetupInOOBE>true</HideWirelessSetupInOOBE>
<ProtectYourPC>3</ProtectYourPC>
</OOBE>
<UserAccounts>
<AdministratorPassword>
<Value>MTIzNDU2QWRtaW5pc3RyYXRvclBhc3N3b3JkCg==</Value>
<PlainText>false</PlainText>
</AdministratorPassword>
</UserAccounts>
</component>
</settings>
<settings pass="generalize">
<component name="Microsoft-Windows-Security-SPP" processorArchitecture="amd64" publicKeyToken="31bf3856ad364e35" language="neutral" versionScope="nonSxS" xmlns:wcm="http://schemas.microsoft.com/WMIConfig/2002/State" xmlns:xsi="http://www.w3.org/2001/XMLSchema-instance">
<SkipRearm>1</SkipRearm>
</component>
</settings>
<cpi:offlineImage cpi:source="catalog:c:/iso_files/sources/install_windows server 2019 serverdatacenter.clg" xmlns:cpi="urn:schemas-microsoft-com:cpi" />
</unattend>
3. Sysprep 重置#
- 手动使用Sysprep(系统准备工具)重置SID

- 将unattend.xml添加至基础镜像,在 开机自启动脚本中增加判断语句,自动执行重置
for /f "delims=" %%i in ('hostname') do set computername=%%i
if "%computername%" == "BASEIMAGE-DOMAIN" (
    C:\Windows\System32\Sysprep\sysprep.exe /oobe /generalize /reboot /unattend:C:\adk\unattend.xml
)